If you’re new to Minecraft Survival, your first 30 days should focus on staying alive, gathering resources, building a secure shelter, upgrading tools, finding food, and preparing for tougher challenges like caves, the Nether, and boss progression. Spend your first week establishing a reliable base, your second week improving gear and farms, your third week exploring safely, and your fourth week preparing for long-term survival. Following this approach minimizes unnecessary deaths while setting you up for a successful world that can last hundreds of in-game days.
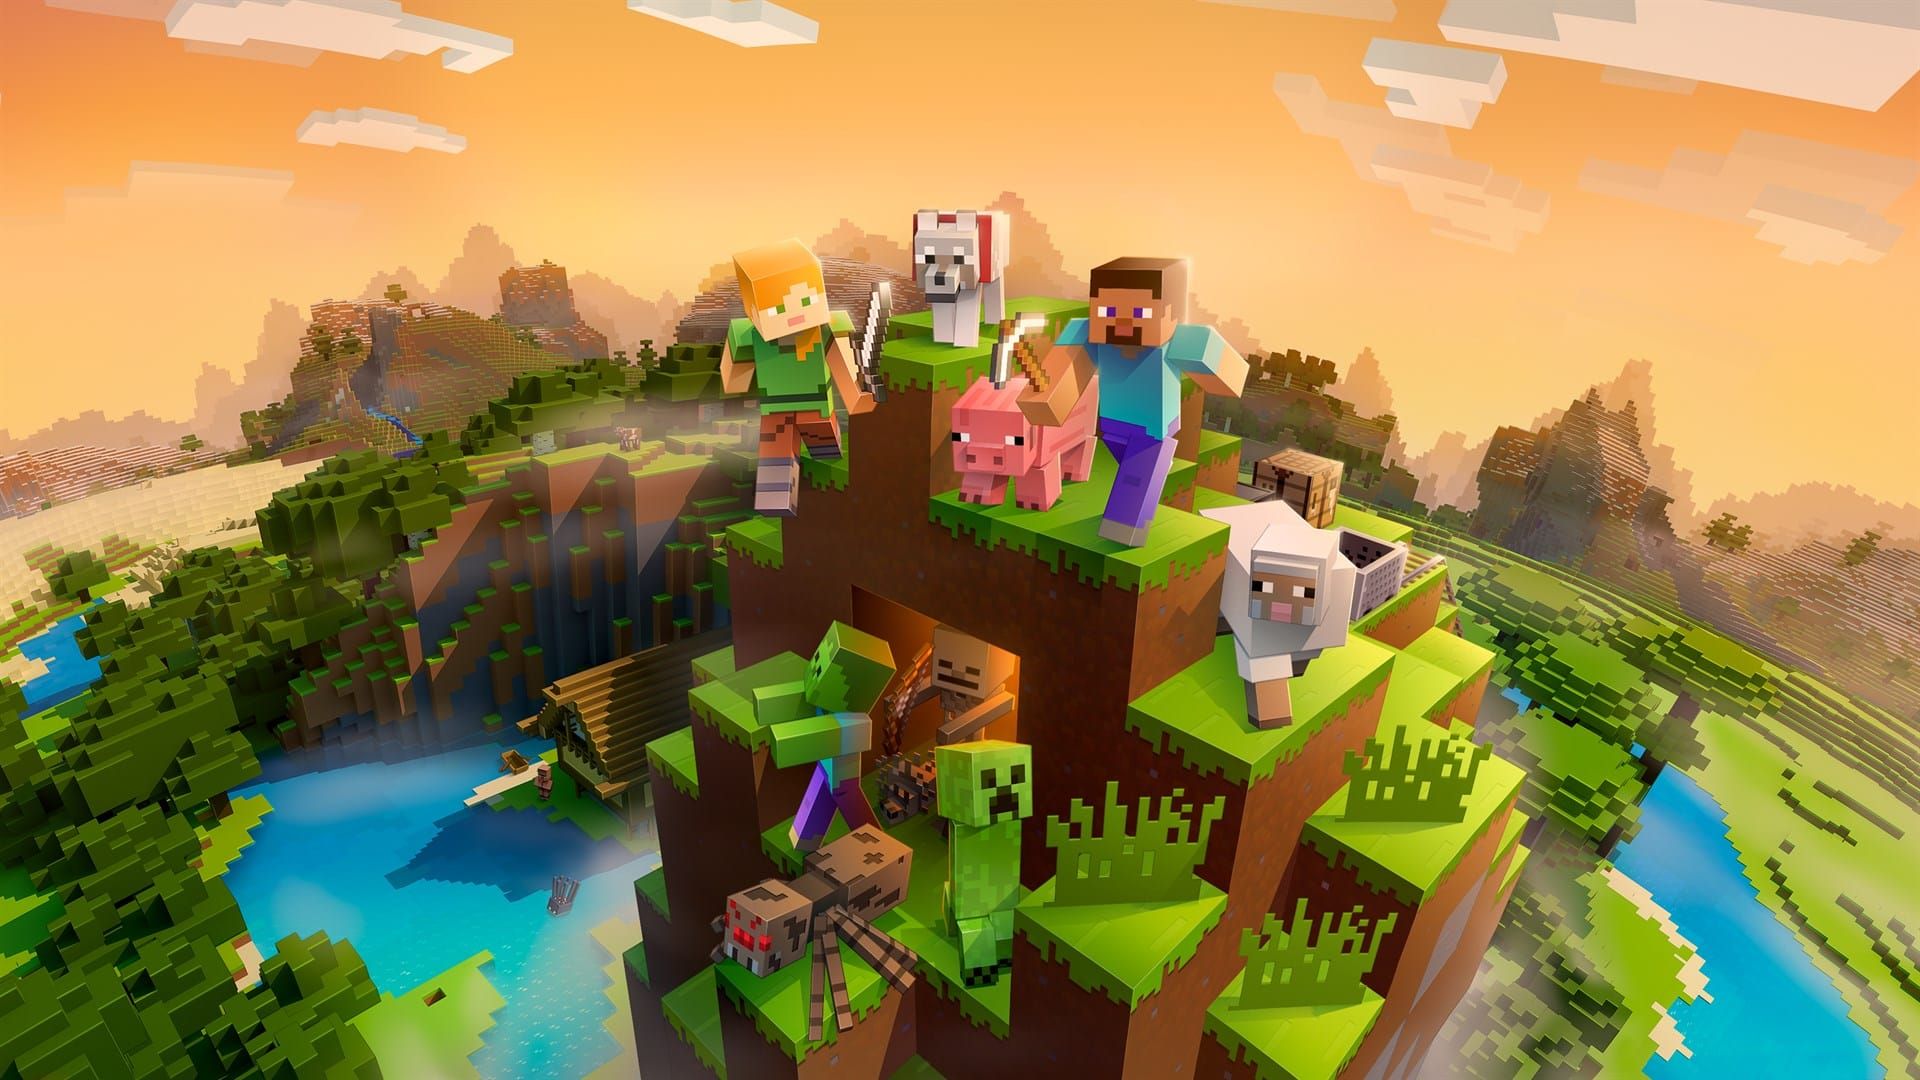
Minecraft Survival Guide: First 30 Days
Minecraft gives you complete freedom, but that freedom can be overwhelming when you first spawn into a new world. There are no quests pointing you in the right direction, no tutorial explaining what to build next, and no checkpoints if things go wrong. Every decision matters, especially during your first month in Survival Mode.
After hundreds of hours surviving everything from Hardcore worlds to long-term multiplayer servers, one lesson becomes clear: the first 30 days determine how enjoyable the rest of your adventure will be.
Many beginners make the mistake of wandering too far, mining too deep too early, or fighting dangerous mobs without proper equipment. Experienced players know that success comes from smart preparation rather than taking unnecessary risks.
This Minecraft Survival Guide walks through exactly what you should accomplish during your first 30 in-game days, helping you build a solid foundation without wasting valuable time or resources.
Whether you’re playing Java Edition or Bedrock Edition, these strategies work consistently across modern versions of Minecraft.
Why This Matters
The first month in Minecraft isn’t about becoming overpowered as quickly as possible. It’s about creating momentum.
A strong start gives you:
- Reliable food production
- Safe shelter from hostile mobs
- Better mining efficiency
- Faster resource gathering
- Easier exploration
- Less time recovering after deaths
- More freedom to build and experiment
Players who rush often lose valuable gear, while players who prepare carefully usually reach diamonds, enchantments, and the Nether with far fewer setbacks.
Think of your first 30 days as an investment. Every farm, storage room, and upgraded tool saves hours later in your survival world.
What You Need to Know Before Starting
Before punching your first tree, understand a few important mechanics that every successful player uses.
Day and Night Cycle
A Minecraft day lasts approximately 20 minutes in real time.
- Daytime: around 10 minutes
- Nighttime: around 7 minutes
- Sunrise and sunset: about 3 minutes combined
Hostile mobs generally spawn during darkness, making nighttime significantly more dangerous for under-equipped players.
Beginner advice: Don’t treat the first night as a battle. Treat it as a survival challenge.
Difficulty Settings
| Difficulty | Hunger | Mob Damage | Best For |
|---|---|---|---|
| Peaceful | No hunger | No hostile mobs | Learning mechanics |
| Easy | Light | Low | First-time players |
| Normal | Standard | Medium | Most players |
| Hard | High | High | Experienced survivors |
| Hardcore (Java only) | High | High | Expert challenge |
If you’re completely new, don’t feel pressured to start on Hard difficulty. Learning the mechanics first makes the game much more enjoyable.
Choose the Right Spawn Area
Some biomes are much easier for beginners.
 Best Minecraft Seeds for Survival when mentioning world generation, spawn locations, or choosing a good starting area.
Excellent Starting Biomes
- Plains
- Forest
- Meadow
- Cherry Grove
- Savanna
These biomes provide:
- Plenty of wood
- Animals for food
- Space to build
- Easy navigation
More Challenging Biomes
- Desert
- Jungle
- Snowy Taiga
- Badlands
- Deep Dark
These regions either lack important resources or introduce extra survival challenges.
⚠️ Warning: Don’t immediately settle in a beautiful but dangerous biome. A practical location with nearby trees, water, animals, and caves will make your first month much easier.
Step-by-Step Guide
Days 1–3: Establish Your Foundation
The opening minutes are the most important part of any survival world.
Step 1: Gather Wood Immediately
Punch several trees and collect at least:
- 32–64 logs
- Extra saplings
- Apples if available from oak trees
Wood becomes:
- Crafting tables
- Sticks
- Tools
- Chests
- Doors
- Torches (after mining coal)
Running out of wood during your first night creates unnecessary problems.
Step 2: Craft Basic Stone Tools
Upgrade from wooden tools as soon as possible.
Craft:
- Stone Pickaxe
- Stone Axe
- Stone Sword
- Stone Shovel
- Stone Hoe (optional)
Many beginners continue using wooden tools for too long. Stone tools are inexpensive and dramatically improve efficiency.
Step 3: Collect Food Before Sunset
Hunger affects health regeneration.
Good early food sources include:
- Cows
- Sheep
- Chickens
- Pigs
- Sweet berries
- Bread from village hay bales
- Fish
- Apples
Aim to collect enough food for several in-game days before focusing on exploration.
Step 4: Build a Temporary Shelter
Your first base doesn’t need to be impressive.
A simple structure with:
- Bed
- Crafting table
- Furnace
- Chest
- Door
- Torches
is enough for the first few nights.
Many experienced players still use simple starter houses because functionality matters more than appearance early on.
💡 Pro Tip: Build your first shelter near a river or lake. Water provides easy fishing, supports farming later, and helps with transportation.
Step 5: Mine Basic Resources
Before Day 3, try to gather:
| Resource | Recommended Amount | Purpose |
|---|---|---|
| Cobblestone | 128+ | Building and tools |
| Coal | 64 | Torches and smelting |
| Iron Ore | 20–30 | Armor and tools |
| Wood | 64+ logs | Future crafting |
| Food | 30+ cooked items | Exploration |
Avoid exploring large cave systems immediately. Instead, focus on shallow caves where you can gather iron and coal without exposing yourself to large groups of hostile mobs.
By the end of Day 3, your goal isn’t to have rare resources—it’s to have stability. A safe shelter, reliable food, stone tools, and your first iron are enough to set the pace for the rest of the month. In the next section, you’ll expand your base, upgrade to full iron gear, begin farming, and prepare for deeper cave exploration as Days 4–10 unfold.
Days 4–10: Upgrade and Expand
With your basic needs covered, it’s time to strengthen your position. This phase is all about turning your temporary shelter into a sustainable survival base.
Step 6: Upgrade to Full Iron Gear
Iron is your first major milestone.
Prioritize crafting in this order:
- Iron Pickaxe
- Iron Shield
- Iron Chestplate
- Iron Helmet
- Iron Leggings
- Iron Boots
- Iron Sword
- Iron Bucket
Why a Shield Comes First
Many new players overlook the shield, but experienced players know it’s one of the strongest defensive items in Minecraft.
A shield can block attacks from:
- Skeleton arrows
- Creepers (reduces explosion damage)
- Zombies
- Pillagers
- Many melee attacks
For the cost of one iron ingot and a few wooden planks, it can save your entire inventory.
💡 Pro Tip: Always keep your shield in your off-hand. Blocking at the right moment is often more valuable than dealing extra damage.
Step 7: Start a Small Farm
Food shortages are one of the most common reasons beginners struggle.
Create a simple wheat farm near water.
You’ll need:
- A hoe
- Seeds (collected by breaking grass)
- Water source
- Light from torches
As your farm grows, consider adding:
- Carrots
- Potatoes
- Sugar cane
- Pumpkins
- Melons
Eventually, combine crops with animal breeding for a dependable food supply.
Ultimate Minecraft Farming Guide when discussing crops, animal farms, or renewable food sources.
Animal Farms Worth Building Early
| Animal | Benefits | Difficulty |
|---|---|---|
| Cows | Steak, leather | Easy |
| Chickens | Food, feathers, eggs | Very Easy |
| Sheep | Wool, food | Easy |
| Pigs | Pork | Easy |
Cows provide the best long-term value because leather is useful for books and enchanting later.
Step 8: Organize Your Storage
Messy storage wastes time.
Create separate chests for:
- Building blocks
- Ores
- Food
- Farming supplies
- Mob drops
- Wood
- Tools
- Valuable items
Good organization becomes increasingly important as your collection grows.
Step 9: Explore Nearby Carefully
Now that you’re equipped with iron armor, begin exploring your surroundings.
Look for:
- Villages
- Rivers
- Mountains
- Surface caves
- Shipwrecks
- Ruined Portals
Avoid travelling thousands of blocks away this early.
Instead, map the area around your base so you always know how to return home.
⚠️ Warning: Always carry a bed, food, torches, and extra blocks when exploring. Getting trapped underground without supplies can quickly become a frustrating experience.
Step 10: Begin Branch Mining
While caves contain valuable resources, they’re also dangerous.
Branch mining is a safer alternative.
Simple Branch Mining Method
- Dig down safely using stairs.
- Stop near deepslate levels.
- Create a long main tunnel.
- Dig side tunnels every few blocks.
Advantages include:
- Lower mob encounters
- Easier navigation
- Efficient ore collection
- Reduced risk of falling into lava
Days 11–20: Prepare for Mid-Game
Your world should now feel established.
This stage focuses on improving efficiency rather than simply surviving.
How to Find Diamonds in Minecraft when discussing diamond mining, branch mining, or underground exploration.
Step 11: Find Diamonds
Diamonds remain one of Minecraft’s most valuable resources.
Use your iron pickaxe to mine diamond ore when you find it.
Prioritize crafting:
- Diamond Pickaxe
- Enchanting Table (once you have enough diamonds and obsidian)
- Diamond Armor (after securing essential tools)
Don’t spend every diamond immediately. Saving a few for future crafting is always wise.
Step 12: Build a Permanent Base
Your starter house has served its purpose.
Now begin building something designed for long-term use.
Include:
- Bedroom
- Furnace room
- Storage room
- Crop farm
- Animal pens
- Mine entrance
- Enchanting area
- Smelting area
Think about future expansion while designing the layout.
How to Build the Perfect Starter House when discussing starter bases, layouts, or survival-friendly builds.
Step 13: Gather Obsidian
Craft a water bucket if you haven’t already.
Pour water over lava to create obsidian, then mine it using your diamond pickaxe.
You’ll need:
- 10 blocks for a Nether Portal
- 14 if you prefer a full rectangular frame
Step 14: Prepare for Enchanting
Enchantments dramatically improve your equipment.
You’ll need:
- Bookshelves
- Leather
- Sugar cane
- Lapis Lazuli
- Experience Levels
Even basic enchantments like Efficiency, Protection, and Sharpness make a noticeable difference.
Minecraft Enchanting Guide when explaining enchantments, bookshelves, experience levels, or improving gear.
Step 15: Improve Resource Production
Instead of gathering everything manually, automate where possible.
Examples include:
- Automatic sugar cane farms
- Simple chicken cookers
- Bamboo farms
- Tree farms
- Villager crop farms (later)
Automation frees up time for exploration and building.
💡 Pro Tip: Experienced players don’t become rich because they mine faster—they build systems that generate resources while they focus on other goals.
Best Minecraft Farms to Build Early when discussing automatic farms, resource generation, or efficiency improvements.
Beginner Tips
Sleep Whenever Possible
Skipping the night reduces encounters with hostile mobs and speeds up progression.
Keep Extra Tools
Breaking your only pickaxe deep underground forces an early trip home.
Carry backups whenever possible.
Light Everything
Torches don’t just help you see—they prevent hostile mobs from spawning.
Light:
- Caves
- Base entrances
- Farms
- Pathways
- Mines
Carry Building Blocks
Cheap blocks like cobblestone can save your life.
Use them to:
- Escape caves
- Block hostile mobs
- Build bridges
- Reach higher ledges
Don’t Carry Every Valuable Item
Leave spare diamonds, enchanted books, and rare materials safely stored at your base.
If you die while exploring, you’ll lose far less progress.
Advanced Tips
Learn Basic Combat Timing
Instead of swinging constantly, time your attacks for maximum damage.
Wait briefly between hits to allow your weapon’s attack strength to recover.
Minecraft Redstone Basics for Beginners when mentioning automation, mechanisms, or technical builds.
Use Water Buckets Creatively
Water buckets can:
- Stop fall damage
- Climb cliffs
- Control lava
- Create safe descents
- Push hostile mobs away
Mastering water bucket placement is one of the biggest skill jumps for experienced players.
Build Near Multiple Biomes
An ideal long-term base sits close to several different biomes.
This gives easy access to:
- Different wood types
- Unique animals
- Various crops
- Specialized resources
Less travelling means more productive gameplay.
Keep an Emergency Chest
Fill a backup chest with:
- Iron armor
- Iron tools
- Food
- Torches
- Shield
- Water bucket
If you die, you’ll recover much faster.
Prepare Before Entering the Nether
Never rush into the Nether.
Bring:
- Full iron armor (or better)
- Shield
- Plenty of food
- Golden boots (to avoid angering Piglins)
- Flint and Steel
- Extra obsidian
- Bow and arrows
Many worlds end because players enter the Nether before they’re properly equipped.
Days 21–30: Prepare for the Long Game
By now, you’ve moved beyond simply surviving. The goal for the final third of your first month is to prepare for everything Minecraft has to offer, from the Nether to advanced farms and eventually defeating the Ender Dragon.
Step 16: Enter the Nether
The Nether is one of Minecraft’s most dangerous dimensions, but it’s also essential for progression.
Before You Go
Make sure you have:
- Full iron armor or better
- Shield
- Diamond pickaxe
- Plenty of cooked food
- Flint and steel
- A stack of cobblestone (Ghasts can’t destroy it)
- Golden boots to avoid angering Piglins
- Fire Resistance Potions (optional but recommended)
Minecraft Nether Survival Guide when covering Nether preparation, portals, or surviving hostile environments.
Your First Objectives
Don’t try to explore everything at once. Instead, focus on:
- Collecting Nether Quartz for experience.
- Finding Blaze Rods from a Nether Fortress.
- Gathering Glowstone.
- Collecting Nether Wart for potion brewing.
⚠️ Warning: Always write down your Nether Portal coordinates. Many players become lost because every direction looks similar in the Nether.
Step 17: Start Enchanting
Enchantments transform average equipment into gear that can last for hundreds of in-game days.
Best Early Enchantments
| Item | Priority Enchantments |
|---|---|
| Pickaxe | Efficiency, Unbreaking, Fortune |
| Sword | Sharpness, Looting, Unbreaking |
| Armor | Protection, Unbreaking |
| Bow | Power, Infinity, Flame |
If you don’t get the enchantment you want, don’t panic. Combine enchanted books and equipment later using an anvil.
Step 18: Improve Your Base
A good survival base grows with your world.
Consider adding:
- Dedicated storage room
- Automatic smelting area
- Villager trading hall
- Enchantment library
- Animal barns
- Crop fields
- Minecart connections
- Decorative landscaping
An organized base saves time every time you return from an adventure.
Step 19: Begin Villager Trading
Villagers are among the most valuable long-term resources in Minecraft.
Useful professions include:
- Librarian (enchanted books)
- Farmer (food trading)
- Toolsmith (tools)
- Weaponsmith (weapons)
- Armorer (armor)
Trading becomes one of the fastest ways to obtain powerful gear without relying entirely on mining.
💡 Pro Tip: Lock in good trades as soon as possible by trading at least once with a villager. This prevents their profession from changing.
Minecraft Villager Trading Guide when explaining villager professions, trades, or long-term resource gathering.
Step 20: Set Long-Term Goals
By Day 30, you should have a clear plan for what’s next.
Popular goals include:
- Defeat the Ender Dragon
- Build a mega base
- Collect every armor trim
- Create automatic farms
- Explore Ancient Cities
- Find every biome
- Defeat the Wither
- Complete every advancement or achievement
Minecraft doesn’t have to end after the dragon. Many of the most rewarding projects happen long after your first month.
How to Defeat the Ender Dragon when discussing progression, the End dimension, or late-game objectives.
Common Mistakes Beginners Make
Avoiding these mistakes will save hours of frustration.
| Mistake | Why It’s a Problem | Better Approach |
|---|---|---|
| Digging straight down | Can drop into lava or caves | Mine using stairs or a safe shaft |
| Exploring at night | More hostile mobs | Sleep when possible |
| Carrying all valuables | High risk after death | Store rare items at home |
| Ignoring shields | Less protection | Craft one early |
| Living without farms | Constant food shortages | Build farms in the first week |
| Wasting diamonds | Slower progression | Prioritize tools before armor |
| Forgetting coordinates | Easy to get lost | Record important locations |
| Entering the Nether too early | High chance of death | Upgrade gear first |
⚠️ Warning: Never mine directly above your head. Gravel and lava can fall unexpectedly, especially in deep caves.
Best Settings, Strategies, and Builds
Best World Settings for Beginners
| Setting | Recommendation | Reason |
|---|---|---|
| Difficulty | Easy or Normal | Balanced challenge |
| Bonus Chest | Optional | Helpful for first-time players |
| Keep Inventory | Off (default) | Encourages careful play |
| Simulation Distance | Medium | Good performance |
| Render Distance | As high as your device comfortably supports | Better exploration |
Best Early Base Design
Your starter base doesn’t need to be huge.
A practical layout includes:
- Bedroom
- Storage area
- Furnace corner
- Crafting station
- Small farm outside
- Mine entrance nearby
Expanding this layout over time is easier than rebuilding from scratch.
Best Food Progression
| Stage | Recommended Food |
|---|---|
| Days 1–3 | Cooked Mutton, Apples |
| Days 4–10 | Bread, Steak |
| Days 11–20 | Steak, Baked Potatoes |
| Days 21–30 | Golden Carrots, Steak |
Golden Carrots are one of the best foods for long-term survival because they restore a large amount of hunger and saturation.
Best Tool Upgrade Order
- Stone Pickaxe
- Iron Pickaxe
- Diamond Pickaxe
- Enchant Diamond Pickaxe
- Upgrade to Netherite later
Many experienced players delay crafting diamond armor until after they have an enchanted diamond pickaxe, because faster mining leads to quicker overall progression.
Frequently Asked Questions
How long is 30 Minecraft days?
One Minecraft day lasts about 20 minutes in real time. Thirty in-game days equal approximately 10 hours of gameplay.
Should I build a house on the first day?
Yes. A simple shelter protects you from hostile mobs and gives you a safe place to store resources.
What’s the fastest way to find diamonds?
Branch mining at the appropriate underground levels is one of the safest and most consistent methods. Large cave systems can also contain exposed diamond ore, but they come with greater risks.
Should I explore caves immediately?
Small surface caves are fine early on, but avoid massive cave systems until you have iron armor, plenty of food, and enough torches.
Is a village a good place to start?
Absolutely. Villages provide beds, food, useful loot, and villagers for future trading. They’re among the best starting locations if you find one early.
What’s the first thing I should do after finding diamonds?
Craft a diamond pickaxe. It unlocks obsidian mining, enchanting, and access to the Nether.
Do I need to defeat the Ender Dragon within 30 days?
No. Many experienced players wait until they have enchanted gear, potion supplies, and plenty of practice before entering the End.
Final Verdict
Minecraft rewards preparation more than speed. The players who enjoy long-lasting survival worlds aren’t necessarily the fastest—they’re the ones who build strong foundations.
During your first 30 days, focus on creating reliable systems instead of chasing rare items. Build a secure base, establish renewable food sources, upgrade your equipment steadily, and explore with a plan. By the end of your first month, you’ll have everything you need to tackle the Nether, master enchanting, trade with villagers, and eventually face the Ender Dragon with confidence.
Remember that every Minecraft world tells a different story. Use this guide as a roadmap, but don’t be afraid to experiment, build creatively, and make your world your own. That’s where Minecraft truly shines.